Companion Flange Removal/Installation: Installation
- Verify that the splines on the pinion stem are free of burrs. If burrs are evident, remove them with a fine crocus cloth. Work in a rotating motion to wipe the pinion clean.
- Lubricate the pinion flange splines.
CAUTION:
- Never use a metal hammer on the pinion flange or install the flange with power tools. If necessary, use a plastic hammer to tap on a tight fitting flange.
- Align the index marks and install the pinion flange.
 Courtesy of MAZDA MOTORS CORP.
- Install the new nut hand-tight.
 Courtesy of MAZDA MOTORS CORP.
CAUTION:
- Do not loosen the nut to reduce preload. Install a new collapsible spacer and nut if preload reduction is necessary.
- Use the special tool to hold the pinion flange while tightening the nut to set the preload.
- Tighten the nut, rotating the pinion occasionally to ensure the differential pinion bearings are seating correctly. Take frequent differential pinion bearing preload readings by rotating the pinion with a Nm (inch-pound) torque wrench. The final reading must be 0.56 Nm (5 lb-in) more than the initial reading taken during step 4 removal.
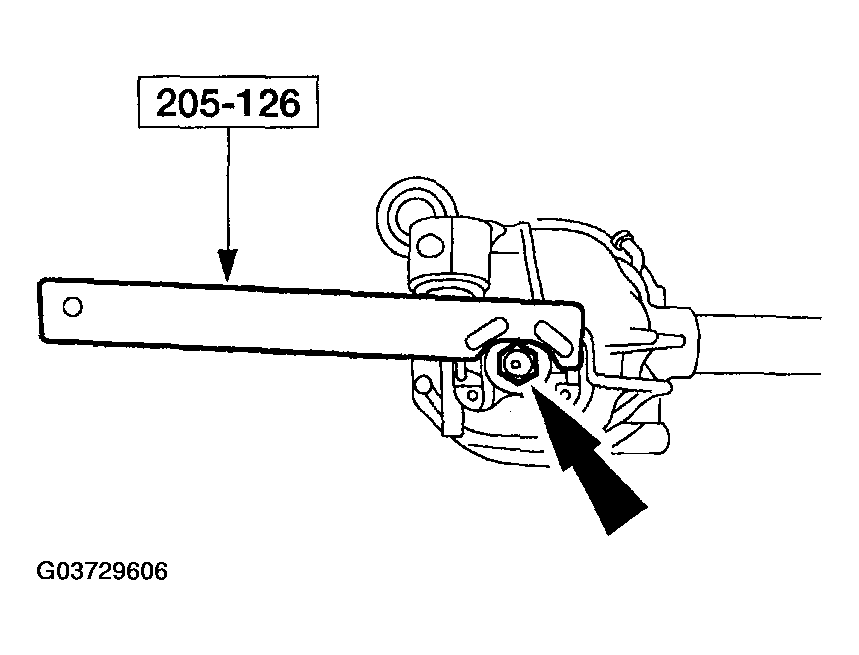 Courtesy of MAZDA MOTORS CORP.
- Align the index marks and position the front drive-shaft.
 Courtesy of MAZDA MOTORS CORP.
- Install the universal joint spider retainers and bolts.
 Courtesy of MAZDA MOTORS CORP.
- Check the fluid level and, if necessary, fill the axle to specification with lubricant.
- Lower the vehicle.
- If so equipped, reactivate the air suspension.